What Is UTM Tracking And How To Use It In Your Ads
Understanding the performance of your marketing campaigns is crucial for making informed decisions and optimising your advertising strategies. One of the best ways to measure your ads’ performance is by setting up UTM tracking parameters. UTM (Urchin Tracking Module) parameters are tags that you can add to your ad URLs, which allow you to track the source, medium, and campaign details of your traffic. In this blog post, we will guide you through the process of setting up UTM tracking for your ads step-by-step.
Step 1: Understand the UTM Parameters
Before you set up UTM tracking, it’s essential to familiarise yourself with the five primary UTM parameters:
- utm_source: This parameter identifies the source of your traffic, such as Google, Facebook, or LinkedIn.
- utm_medium: This parameter specifies the marketing medium, such as CPC (cost-per-click), email, or social.
- utm_campaign: This parameter defines the specific campaign you are running, like “summer_sale” or “product_launch.”
- utm_term (optional): This parameter is used to track keywords in paid search campaigns.
- utm_content (optional): This parameter is helpful for A/B testing and differentiating between multiple ad variations.
Step 2: Generate a UTM-Enabled URL
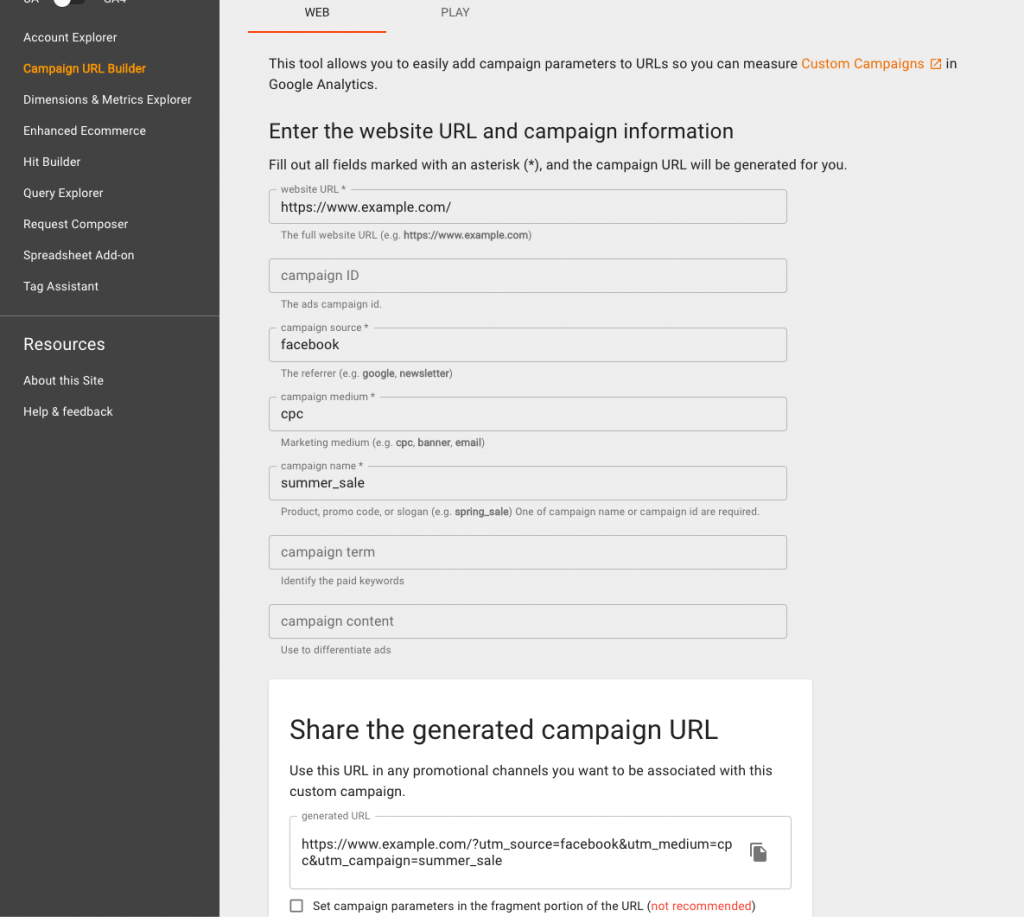
To create a UTM-enabled URL, you can either manually build it or use a UTM builder tool like Google Analytics Campaign URL Builder. Here’s an example of a UTM-enabled URL:
If you’re using the Google Analytics Campaign URL Builder, follow these steps:
- Enter your website URL in the “Website URL” field.
- Fill in the required fields (Campaign Source, Campaign Medium, and Campaign Name).
- Optionally, fill in the Campaign Term and Campaign Content fields.
- Click “Generate URL” to create your UTM-enabled URL.

Step 3: Use the UTM-Enabled URL in Your Ads
Now that you have generated a UTM-enabled URL, use it as the destination URL for your ads. This will ensure that when users click on your ads, the UTM parameters are passed along, and their activity can be tracked.
Step 4: Analyse the Data in Your Analytics Platform
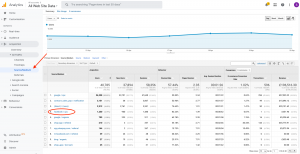
With your UTM tracking set up, the next step is to analyse the data in your analytics platform, such as Google Analytics. Here’s how to view UTM tracking data in Google Analytics:
- Log in to your Google Analytics account.
- Navigate to the “Acquisition” tab on the left-hand menu.
- Click on “All Traffic,” followed by “Source/Medium.”
- You will now see a report showing your traffic sources and mediums, with the associated metrics like sessions, bounce rate, and conversions.

Step 5: Optimise Your Campaigns Based on Insights
Using the data from your analytics platform, identify the best-performing sources, mediums, and campaigns. Optimise your ad spend, targeting, and creatives based on these insights to improve your overall marketing performance.
Setting up UTM tracking for your ads is a powerful way to gain insights into the performance of your marketing campaigns. By understanding the UTM parameters, generating UTM-enabled URLs, and analysing the data in your analytics platform, you can optimise your campaigns and improve your marketing ROI. Start implementing UTM tracking today to make data-driven decisions and achieve better results with your advertising efforts.